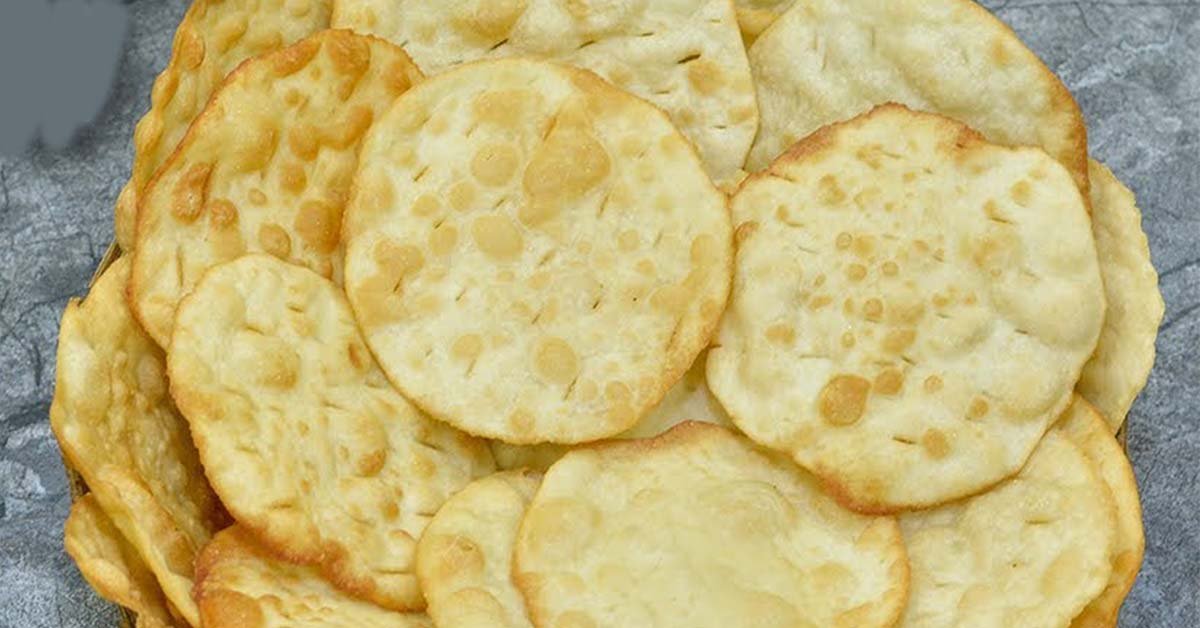
Welcome to the wonderful world of Maharashtrian sweets! Today, we’re diving into a classic and beloved snack known as Kadakani. These deep-fried, crispy cookies are traditionally made during festivals like Navratri and are famous for their delightful crunch and simple, sweet flavour. While the name might sound a little complex, making them at home is surprisingly easy. This beginner-friendly Kadakani Recipe is perfect for anyone looking to try their hand at traditional Indian snacks. We’ll guide you through each step, ensuring your Kadakani comes out perfectly golden and crunchy, not soft or oily. Get ready to impress your family and friends with this Authentic Maharashtrian treat!
Also Read – Kartule Gravy Bhaji: Easy Spiny Gourd Recipe
Ingredients List:
- 250 g all-purpose flour (maida)
- 50 g semolina (rava)
- 125 g sugar
- 3 tablespoons clarified butter (ghee) or oil
- A pinch of salt
- Water or milk for kneading
Step-by-Step Instructions:
- Prepare the Flour and Semolina: Sieve the all-purpose flour to remove any impurities. Grind the semolina and sugar separately into a fine powder using a mixer grinder.
- Mix the Dry Ingredients: In a large bowl, combine the sieved all-purpose flour, finely ground semolina, powdered sugar, and a pinch of salt. Mix well.
- Add Ghee: Heat the clarified butter (ghee) until it is very hot. Pour the hot ghee over the flour mixture and mix it thoroughly using a spoon to prevent burning your hands. Ensure the ghee is evenly distributed throughout the flour.
- Knead the Dough: Gradually add water or milk to the mixture, kneading it into a firm, tight dough. Do not add too much liquid at once. The dough should be stiffer than chapati dough.
- Rest the Dough: Cover the dough and let it rest for about 10 minutes. This allows the semolina to absorb the moisture and makes the dough easier to work with.
- Roll the Kadakani: Take a small portion of the dough and roll it out into a thin circle, just like a chapati. Make sure the sheet is rolled as thinly as possible for a crispy texture. You should be able to see the surface beneath the dough.
- Pierce the Dough: Using a knife or fork, gently pierce the rolled-out dough all over. This prevents it from puffing up like a puri while frying and ensures it remains crispy.
- Fry the Kadakani: Heat oil in a deep pan. Once the oil is hot, carefully slide the rolled and pierced Kadakani into the oil. Fry on a medium flame.
- Monitor the Colour: Fry until the Kadakani turns a light golden-brown colour. Do not over-fry, as it will continue to darken after you remove it from the oil.
- Cool and Store: Remove the Kadakani from the oil and place it on a wire rack or paper towel to cool completely. Once cooled, store them in an airtight container.
Also Read – Aloo Baingan Recipe: Quick Eggplant and Potato Stir-Fry
Cooking Tips:
- Don’t Overdo the Sugar: Using too much sugar can make the Kadakani soft instead of crispy. Stick to the recommended amount for the best results.
- Grind Everything Finely: For a smooth dough and perfect texture, make sure to grind the semolina and sugar into a fine powder. This also helps the dough come together quickly.
- Heat the Ghee Properly: The ghee or oil should be very hot when added to the flour mixture. This process, known as “mohan,” is crucial for a crispy texture.
- Roll Thinly: The secret to crispy Kadakani is rolling the dough as thinly as possible. The thinner the better!
Variations:
- Vegan Version: Replace the clarified butter (ghee) with vegetable oil or coconut oil.
- Spicy Version: Add a pinch of black pepper powder or a dash of red chilli flakes to the dough for a savoury twist.
- Kids-Friendly Version: After frying, you can sprinkle them with powdered sugar or drizzle them with chocolate syrup for a fun, sweet treat.
- Whole Wheat Version: While the original recipe uses all-purpose flour, you can substitute it with whole wheat flour for a healthier alternative.
Also Read – Crispy Vadi Recipe: Quick & Easy Tea-Time Snack
Serving Suggestions:
Kadakani is a versatile snack that can be enjoyed in many ways. It’s perfect on its own as a tea-time snack. You can also serve it with a warm cup of coffee or a cold glass of milk. For a traditional pairing, enjoy it with a side of yogurt or pickle.
FAQs:
Q1. Why is my Kadakani not crispy?
Ans: Your Kadakani might not be crispy if the dough was too soft, you used too much sugar, or the oil was not hot enough. Make sure to follow the Kadakani recipe tips for a perfect crunch.
Q2. Can I use oil instead of ghee?
Ans: Yes, you can use oil instead of clarified butter (ghee) to make this Kadakani recipe.
Q3. How long can I store Kadakani?
Ans: When stored in a sealed, airtight container, Kadakani can stay fresh and crispy for up to a month.
Q4. What is the difference between Kadakani and Shankarpali?
Ans: While both are deep-fried Maharashtrian sweets, Kadakani is typically a flat, round cookie, while Shankarpali is usually cut into diamond or square shapes.
Also Read – Quick & Easy Leftover Veg Stir-Fry Recipe
Crispy Kadakani Recipe: Perfect Maharashtrian Navratri Dish
Ingredients
- 250 g all-purpose flour maida
- 50 g semolina rava
- 125 g sugar
- 3 tablespoons clarified butter (ghee) or oil
- A pinch of salt
- Water or milk for kneading
Instructions
- Prepare the Flour and Semolina: Sieve the all-purpose flour to remove any impurities. Grind the semolina and sugar separately into a fine powder using a mixer grinder.
- Mix the Dry Ingredients: In a large bowl, combine the sieved all-purpose flour, finely ground semolina, powdered sugar, and a pinch of salt. Mix well.
- Add Ghee: Heat the clarified butter (ghee) until it is very hot. Pour the hot ghee over the flour mixture and mix it thoroughly using a spoon to prevent burning your hands. Ensure the ghee is evenly distributed throughout the flour.
- Knead the Dough: Gradually add water or milk to the mixture, kneading it into a firm, tight dough. Do not add too much liquid at once. The dough should be stiffer than chapati dough.
- Rest the Dough: Cover the dough and let it rest for about 10 minutes. This allows the semolina to absorb the moisture and makes the dough easier to work with.
- Roll the Kadakani: Take a small portion of the dough and roll it out into a thin circle, just like a chapati. Make sure the sheet is rolled as thinly as possible for a crispy texture. You should be able to see the surface beneath the dough.
- Pierce the Dough: Using a knife or fork, gently pierce the rolled-out dough all over. This prevents it from puffing up like a puri while frying and ensures it remains crispy.
- Fry the Kadakani: Heat oil in a deep pan. Once the oil is hot, carefully slide the rolled and pierced Kadakani into the oil. Fry on a medium flame.
- Monitor the Colour: Fry until the Kadakani turns a light golden-brown colour. Do not over-fry, as it will continue to darken after you remove it from the oil.
- Cool and Store: Remove the Kadakani from the oil and place it on a wire rack or paper towel to cool completely. Once cooled, store them in an airtight container.