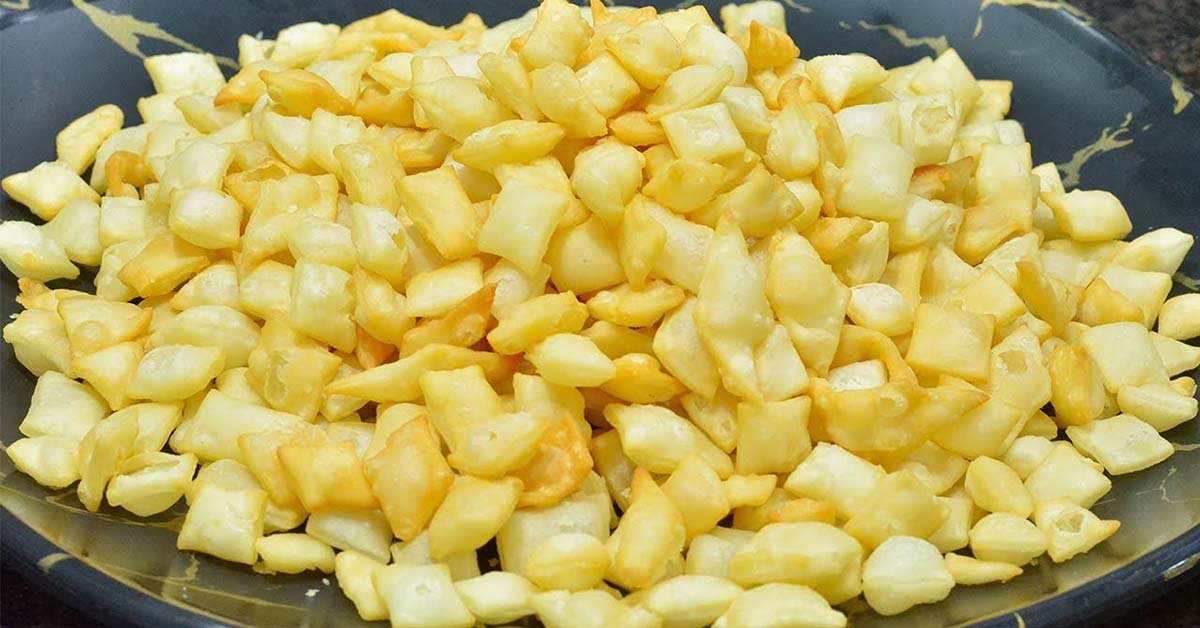
Are you looking for a new, exciting snack that your kids will absolutely love? This Crispy Cheese Bites Recipe is the answer! It’s a wonderfully crunchy, savoury treat that’s perfect for snack time, a party, or even as a special part of your Diwali faral (snacks). These little bites are packed with cheesy flavour and have an amazing, satisfying crunch.
The best part? This recipe is super easy to follow, even for beginners. You only need a few simple ingredients like cheese, flour, and butter to create a snack that’s golden, puffed up, and incredibly delicious. Forget store-bought snacks; these homemade cheesy bites are fresh, not oily, and so much more fun to make. Let’s get started and cook up a batch of this amazing kid-friendly snack!
Also Read – Perfect Shankarpali Recipe for Crispy, Sweet Snacks
Ingredients List:
- 1/2 Cup Milk (boiled and cooled)
- 3 Amul Cube Cheese (Or any similar processed cheese)
- 2 tbsp Butter
- 2 Cups of All-Purpose Flour (Maida)
- A Pinch of Salt (just to taste, as cheese and butter are already salty)
- Oil for deep frying
Also Read – Crispy Karanji Recipe: The Perfect Maharashtrian Sweet
Step-by-Step Instructions:
- Create the Cheese-Milk Base: First, pour the milk into a small pan. Grate all three cheese cubes directly into the milk. Add a tablespoon of butter.
- Melt the Mixture: Place the pan on the stove over medium heat. Stir continuously until the cheese and butter have completely melted into the milk, forming a smooth, thick liquid.
- Cool it Down: Turn off the heat and let this cheese mixture cool down completely. This is an important step.
- Prepare the Flour: In a large bowl, take the 2 cups of all-purpose flour. Add a very small pinch of salt, remembering that the cheese is already salty. Mix the salt into the flour.
- Knead the Dough: Once the cheese mixture is cool, slowly pour it into the flour. Begin to mix and knead it until it all comes together into a dough. You should not need any extra water; the liquid is just enough for the flour.
- Check Dough Consistency: The final dough should be medium-firm—not too soft and not too hard.
- Roll it Thin: Take a small portion of the dough. On a rolling board, roll it out as thin as you possibly can, just like a papad. It should be almost see-through. You can use a little dry flour for dusting if it sticks.
- Cut into Bites: Using a knife or a pizza cutter, cut the thin sheet into tiny square or diamond shapes. The smaller they are, the crispier they get.
- Heat the Oil: While you’re cutting, heat the oil in a pan (kadhai) for deep frying. The oil needs to be nice and hot.
- Fry to Perfection: Carefully drop the small dough pieces into the hot oil. Fry them on medium heat, stirring gently. They will puff up beautifully.
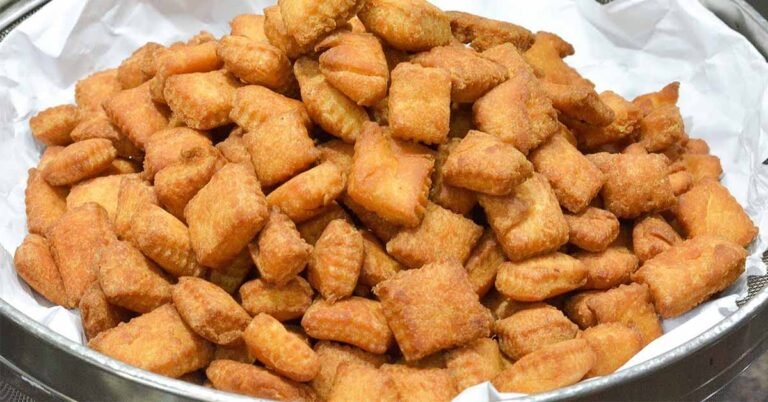
- Drain and Serve: Once they turn a light golden brown and look crispy, remove them from the oil with a slotted spoon and drain them. Your Crispy Cheese Bites are ready!
Also Read – Perfect Poha Chivda Recipe: Quick & Easy Diwali Snack
Cooking Tips for Better Results:
- Roll Very Thin: The secret to the “kurkurit” (crispy) texture is rolling the dough extremely thin. The thinner it is, the better it will puff up and fry.
- Hot Oil is Key: Make sure your oil is properly hot before you add the dough pieces. This helps them puff up instantly and stops them from absorbing too much oil.
- Cool the Cheese Mix: Do not add the hot cheese mixture to the flour. Let it cool down completely, or it will change the texture of the dough.
- Small Batch Frying: Fry the bites in small batches. Overcrowding the pan will lower the oil temperature and make them less crispy.
Variations:
- Spicy Version: Add half a teaspoon of red chilli flakes or black pepper powder to the flour for a spicy kick.
- Herby Version: Mix in a teaspoon of dried herbs like oregano or mixed Italian herbs with the flour for a pizza-like flavour.
- Kids-Friendly (Extra Cheesy): While you can’t add more cheese to the dough, you can sprinkle a little cheese powder or nutritional yeast on them after frying.
- Vegan Version: This recipe relies heavily on dairy. For a vegan-friendly snack, you would need to use plant-based milk (like soy or oat), vegan butter, and vegan cheese.
Also Read – Crispy Salted Shankarpali Recipe: Perfect Tea-Time Snack
Serving Suggestions:
- These Crispy Cheese Bites are delicious all on their own:
- Serve them as a tea-time snack with hot chai or coffee.
- Pack them in your child’s lunchbox for a surprise treat.
- Serve them as a party appetizer with dips like tomato ketchup, mayonnaise, or a spicy Schezwan sauce.
FAQs (Frequently Asked Questions):
Q1: Why are my cheese bites not crispy?
Ans: This usually happens for two reasons: either the dough was not rolled thin enough, or the oil was not hot enough. Make sure to roll the dough paper-thin and fry in hot oil on medium heat.
Q2: Can I bake these cheese bites instead of frying?
Ans: This recipe is designed for deep frying to get the puffed, hollow, and crispy texture. Baking will result in a harder, cracker-like texture, which is different, but you can try it at 180°C (350°F) until golden.
Q3: Can I store these Crispy Cheese Bites?
Ans: Yes! Once they are completely cool, store them in an airtight container at room temperature. They will stay crispy for several days.
Q4: My dough is too sticky. What should I do?
Ans: If your dough is sticky, it might be because the cheese-milk mixture was still warm. If it’s just a little sticky, use a bit of dry flour while kneading and rolling. The measurements in the recipe are usually precise enough.
Q5: Can I use whole wheat flour (atta) instead of maida?
Ans: You can, but the texture and taste will be different. Using all-purpose flour (maida) gives the lightest, crispiest result.
Also Read – Poha Chivda Recipe: Crispy Diwali Snack in 20 Mins!
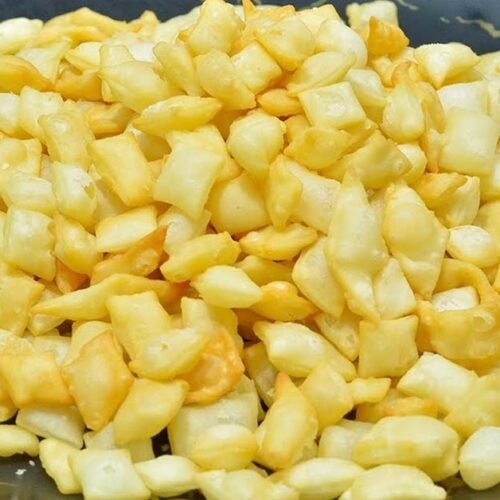
Crispy Cheese Bites Recipe: Easy Kid-Friendly Snack
Ingredients
- 1/2 Cup Milk boiled and cooled
- 3 Amul Cube Cheese Or any similar processed cheese
- 2 tbsp Butter
- 2 Cups of All-Purpose Flour Maida
- A Pinch of Salt just to taste, as cheese and butter are already salty
- Oil for deep frying
Instructions
- Create the Cheese-Milk Base: First, pour the milk into a small pan. Grate all three cheese cubes directly into the milk. Add a tablespoon of butter.
- Melt the Mixture: Place the pan on the stove over medium heat. Stir continuously until the cheese and butter have completely melted into the milk, forming a smooth, thick liquid.
- Cool it Down: Turn off the heat and let this cheese mixture cool down completely. This is an important step.
- Prepare the Flour: In a large bowl, take the 2 cups of all-purpose flour. Add a very small pinch of salt, remembering that the cheese is already salty. Mix the salt into the flour.
- Knead the Dough: Once the cheese mixture is cool, slowly pour it into the flour. Begin to mix and knead it until it all comes together into a dough. You should not need any extra water; the liquid is just enough for the flour.
- Check Dough Consistency: The final dough should be medium-firm—not too soft and not too hard.
- Roll it Thin: Take a small portion of the dough. On a rolling board, roll it out as thin as you possibly can, just like a papad. It should be almost see-through. You can use a little dry flour for dusting if it sticks.
- Cut into Bites: Using a knife or a pizza cutter, cut the thin sheet into tiny square or diamond shapes. The smaller they are, the crispier they get.
- Heat the Oil: While you're cutting, heat the oil in a pan (kadhai) for deep frying. The oil needs to be nice and hot.
- Fry to Perfection: Carefully drop the small dough pieces into the hot oil. Fry them on medium heat, stirring gently. They will puff up beautifully.
- Drain and Serve: Once they turn a light golden brown and look crispy, remove them from the oil with a slotted spoon and drain them. Your Crispy Cheese Bites are ready!