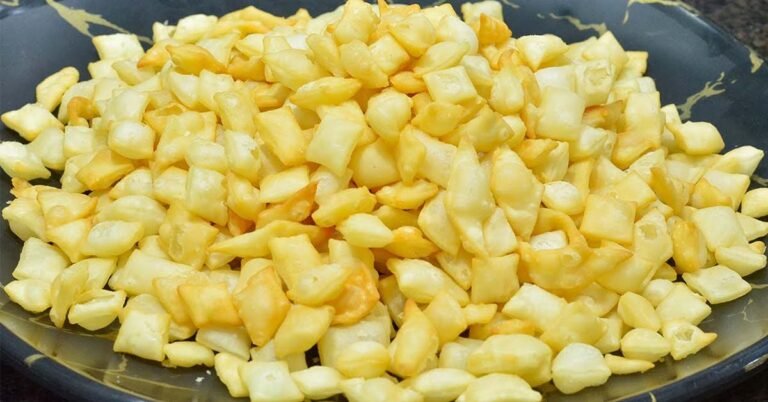
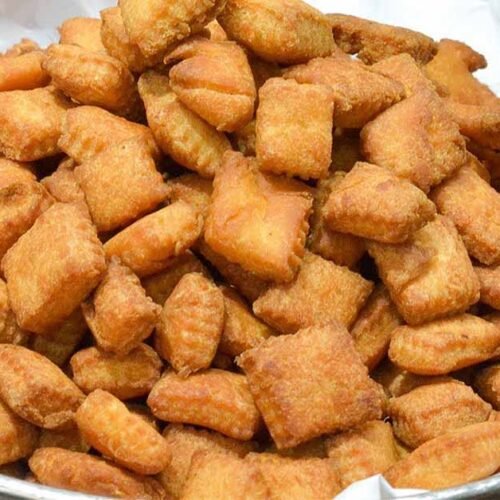
Shankarpali is a classic sweet snack from Maharashtra, India, loved by all ages. These diamond-shaped, crispy, and lightly sweetened bites are a must-have during festivals like Diwali, but they are also perfect as an everyday tea-time treat. If you’ve been searching for a “perfect Shankarpali recipe” that never fails, you’re in the right place! This beginner-friendly recipe will guide you through the simple process of making delicious, flaky, and crispy Shankarpali at home. Get ready to create a snack that will have everyone asking for more!
Also Read – Crispy Salted Shankarpali Recipe: Perfect Tea-Time Snack
Ingredients List:
- 500 g All-Purpose Flour (Maida) (7 Small Cups)
- 100 g Sugar (1 Small Cup)
- 100 ml Milk (1 Small Cup)
- 70 g Ghee (1 Small Cup) (slightly less than a full Cup)
- 2 Green Cardamom
- A small piece of Nutmeg
- A pinch of Salt
- 2-3 tbsp Water
- Oil or Ghee: For deep frying
Also Read – Crispy Shankarpali Recipe: A Simple Step-by-Step Guide
Step-by-step Instructions:
- Prepare the Flour Mixture: In a large bowl, take the all-purpose flour and add a pinch of salt.
- Make Sweetened Powder: Grind the sugar, cardamom pods, and a small piece of nutmeg into a fine powder.
- Combine Ingredients: Add the powdered sugar mixture to the flour. Mix it well. Now, add the ghee and mix it thoroughly with the flour until it resembles breadcrumbs.
- Knead the Dough: Pour in the milk and start kneading. The dough should be firm, not too soft or too stiff. If needed, you can add a little water to bring it together. Don’t over-knead the dough.
- Rest the Dough: Let the dough rest for about 10 minutes.
- Roll and Cut: Take a portion of the dough and roll it into a thick circle. It shouldn’t be too thin. Cut the rolled dough into diamond or square shapes using a knife or a pizza cutter.
- Fry the Shankarpali: Heat oil or ghee in a pan on medium flame. To check if the oil is ready, drop a small piece of dough; it should slowly rise to the top. Gently slide the cut Shankarpali into the hot oil.
- Fry until Golden: Don’t overcrowd the pan. Fry the Shankarpali on a low-medium flame, stirring occasionally, until they are golden brown and crispy on both sides.
- Drain and Cool: Once fried, remove the Shankarpali from the oil and place them on a paper towel to absorb any excess oil. Let them cool down completely before storing.
Also Read – Salted Shankarpali Recipe | Easy Kharya Shankarpalya Recipe
Cooking Tips for Better Results:
- Dough Consistency: The key to crispy Shankarpali is a firm dough. If the dough is too soft, the Shankarpali will absorb a lot of oil.
- Frying Temperature: Always fry the Shankarpali on a low to medium flame. Frying on high heat will make them brown quickly from the outside while remaining uncooked on the inside.
- Don’t Overcrowd: Fry in small batches to maintain the oil temperature and ensure even cooking.
- Cool Completely: Make sure the Shankarpali are completely cool before you store them in an airtight container to maintain their crispiness.
Variations:
- Vegan Version: Replace the ghee with vegetable oil or coconut oil and use water or plant-based milk instead of dairy milk.
- Spicy Version (Namkeen Shankarpali): Skip the sugar and add red chilli powder, turmeric powder, carom seeds (ajwain), and salt to the flour to make a savoury version.
- Kids-Friendly Version: Use cookie cutters to create fun shapes that kids will love.
Also Read – Wheat Flour Shankarpali Recipe: Crispy & Sweet Diwali Snack
Serving Suggestions:
- Shankarpali is a versatile snack that can be enjoyed in many ways:
- Serve it with a hot cup of tea or coffee.
- It’s a perfect addition to a Diwali sweets and snacks platter.
- Pack it in a tiffin box for a delightful snack on the go.
FAQs:
Q1: Why did my Shankarpali turn soft instead of crispy?
Ans: This usually happens if the dough is too soft or if they are not fried on a low-medium flame for long enough. Ensure your dough is firm, and you fry it until they are golden and crisp.
Q2: Can I make Shankarpali without milk?
Ans: Yes, you can. As mentioned in the video, you can use water instead of milk to knead the dough.
Q3: How long can I store Shankarpali?
Ans: You can store Shankarpali in an airtight container at room temperature for up to 3-4 weeks.
Q4: Can I bake Shankarpali instead of frying them?
Ans: Yes, for a healthier option, you can bake them. Preheat your oven to 180°C (350°F) and bake the Shankarpali for 15-20 minutes, or until they are golden brown.
Also Read – Crispy Butter Chakli Recipe | Easy Homemade Indian Snack
Perfect Shankarpali Recipe for Crispy, Sweet Snacks
Ingredients
- 500 g All-Purpose Flour Maida (7 Small Cups)
- 100 g Sugar 1 Small Cup
- 100 ml Milk 1 Small Cup
- 70 g Ghee 1 Small Cup (slightly less than a full Cup)
- 2 Green Cardamom
- A small piece of Nutmeg
- A pinch of Salt
- 2-3 tbsp Water
- Oil or Ghee For deep frying
Instructions
- Prepare the Flour Mixture: In a large bowl, take the all-purpose flour and add a pinch of salt.
- Make Sweetened Powder: Grind the sugar, cardamom pods, and a small piece of nutmeg into a fine powder.
- Combine Ingredients: Add the powdered sugar mixture to the flour. Mix it well. Now, add the ghee and mix it thoroughly with the flour until it resembles breadcrumbs.
- Knead the Dough: Pour in the milk and start kneading. The dough should be firm, not too soft or too stiff. If needed, you can add a little water to bring it together. Don't over-knead the dough.
- Rest the Dough: Let the dough rest for about 10 minutes.
- Roll and Cut: Take a portion of the dough and roll it into a thick circle. It shouldn't be too thin. Cut the rolled dough into diamond or square shapes using a knife or a pizza cutter.
- Fry the Shankarpali: Heat oil or ghee in a pan on medium flame. To check if the oil is ready, drop a small piece of dough; it should slowly rise to the top. Gently slide the cut Shankarpali into the hot oil.
- Fry until Golden: Don't overcrowd the pan. Fry the Shankarpali on a low-medium flame, stirring occasionally, until they are golden brown and crispy on both sides.
- Drain and Cool: Once fried, remove the Shankarpali from the oil and place them on a paper towel to absorb any excess oil. Let them cool down completely before storing.