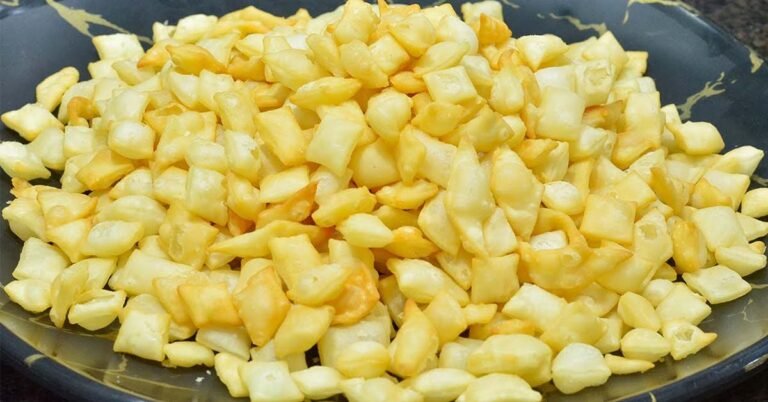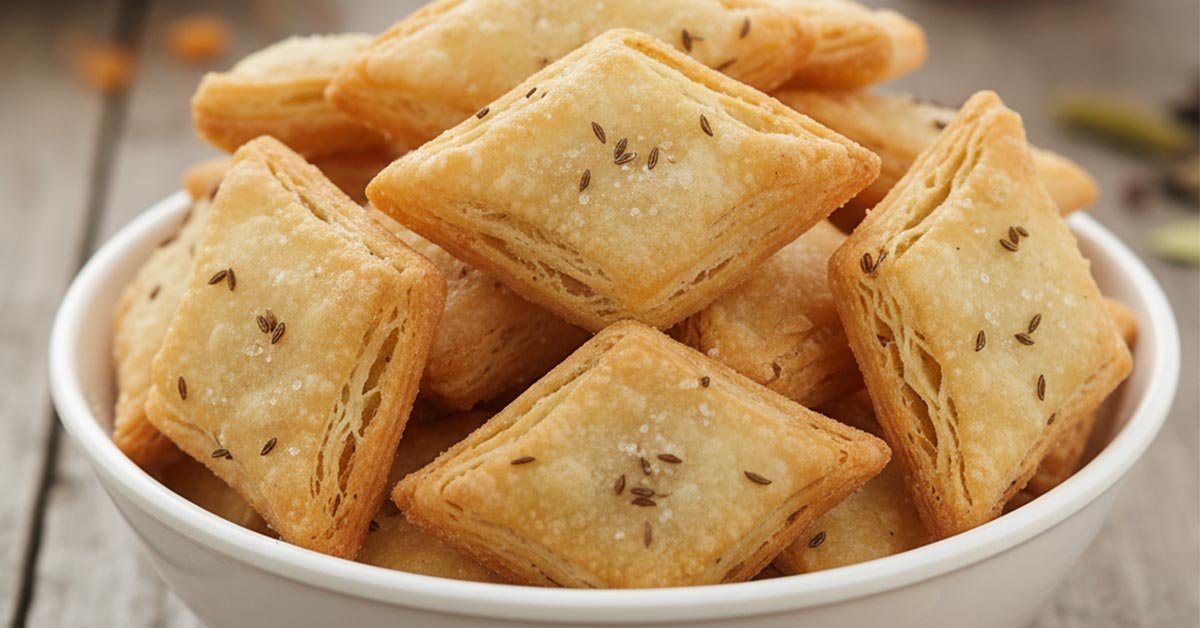
Welcome to the delightful world of Maharashtrian snacks! Today, we’re diving into a beloved favourite: Kharya Shankarpalya, also known as Salted Shankarpali. These diamond-shaped savoury bites are a perfect tea-time companion, and their crispy, flaky texture is simply irresistible.
Unlike their sweet counterparts, these shankarpali are seasoned with a touch of salt and carom seeds, giving them a unique and addictive flavour. This recipe is designed to be simple and beginner-friendly, so you can easily recreate this classic snack in your own kitchen. We’ll show you how to get those amazing layers that make every bite so satisfying. So, let’s get started and make these delicious Kharya Shankarpalya!
Also Read – Crispy Shankarpali Recipe: A Simple Step-by-Step Guide
Ingredients List:
- 2 cups all-purpose flour (maida)
- 1/2 teaspoon carom seeds (ajwain), or less
- 4 tablespoons vegetable oil, ghee, or butter (for the dough and layering)
- Salt to taste
- Water as needed to knead the dough
- Oil for deep frying
Step-by-step Instructions:
- Prepare the Dough: In a large bowl, mix the all-purpose flour, carom seeds, and salt. Add the 4 tablespoons of oil and mix it thoroughly with your hands until the flour resembles breadcrumbs.
- Knead and Rest: Gradually add a little water and knead into a firm, tight dough. Once kneaded, apply a little oil on the dough and let it rest for 10 minutes.
- Roll the First Layer: Take a small ball of dough and roll it out into a very thin, circular sheet, similar to a chapati.
- Create Layers: Apply a layer of oil or melted ghee evenly over the rolled dough sheet. Sprinkle a light dusting of flour over the oil. Fold the sheet into a square, then roll it out again into a thin sheet. Repeat this process two more times to create multiple flaky layers.
- Cut the Shankarpalya: Once you have rolled the final sheet, cut it into thin, diamond-shaped pieces. Ensure the pieces are not too thick.
- Fry to Perfection: Heat the oil in a pan on a medium flame. Once the oil is hot, gently add the shankarpalya pieces. Do not overcrowd the pan. Fry on a medium flame, stirring occasionally, until they turn a beautiful light golden brown colour.
- Cool and Store: Once fried, take them out and place them on a paper towel to absorb any excess oil. Once they have cooled completely, store them in an airtight container.
Also Read – Easiest Maharashtrian Egg Curry Recipe | Delicious Anda Curry
Cooking Tips for Better Results:
- Fry on a Medium Flame: Frying on a medium flame is crucial. A high flame will cause the shankarpalya to turn red quickly without cooking through and forming the layers properly.
- Proper Moin (Mohan) is Key: Make sure to rub the oil into the flour properly in the first step. This “moin” is what makes the final product crispy and not hard.
- Don’t Skimp on Salt: A little extra salt can enhance the flavour and make them even more delicious.
- Roll Thinly: Rolling the dough as thinly as possible is essential for getting that crispy texture and good layers.
Variations:
- Spicy Version: Add a pinch of red chilli powder and a little black pepper powder to the dough mixture for a spicy kick.
- Kids-Friendly Version: Skip the carom seeds and add a small amount of cumin powder and a hint of sugar to create a mild, flavorful version.
- Vegan Version: This recipe is naturally vegan if you use vegetable oil or vegan butter instead of ghee.
Also Read – Crispy Moong Dal Bhaji: The Secret Moong Pakoda Recipe
Serving Suggestions:
Kharya Shankarpalya (Salted Shankarpali) are perfect to serve as a standalone snack with your evening tea or coffee. You can also serve them with a spicy green chutney or a sweet tamarind chutney for a delightful flavour contrast. They are also a great addition to a festive snack platter.
FAQs:
Q1: What is Kharya Shankarpalya?
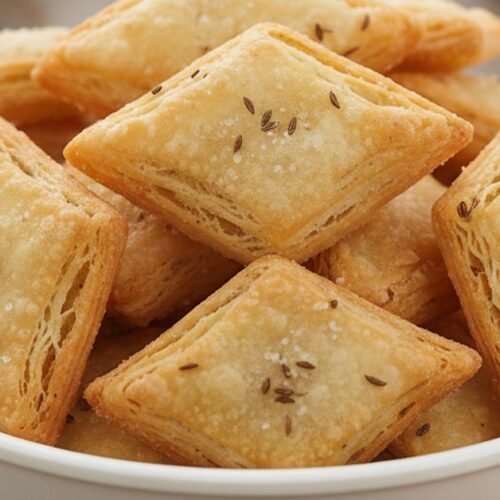
Ans: Kharya Shankarpalya are a popular Maharashtrian savoury snack. They are deep-fried, crispy, diamond-shaped bites seasoned with salt and carom seeds.
Q2: Why are my Shankarpalya not flaky?
Ans: The key to getting flaky layers is the rolling and folding process. Make sure to roll the dough very thinly and apply a thin layer of oil and flour between each fold.
Q3: How long can I store Kharya Shankarpalya?
Ans: When stored in an airtight container, they can stay fresh and crispy for up to two weeks.
Q4: Can I use whole wheat flour instead of all-purpose flour?
Ans: Yes, you can. However, the texture might be slightly different. They may not be as flaky and might be a little denser.
Also Read – Delicious Masoor Dal Batata Recipe (Lentil Potato Curry)
Salted Shankarpali Recipe | Easy Kharya Shankarpalya Recipe
Ingredients
- 2 cups all-purpose flour maida
- 1/2 teaspoon carom seeds ajwain, or less
- 4 tablespoons vegetable oil ghee, or butter (for the dough and layering)
- Salt to taste
- Water as needed to knead the dough
- Oil for deep frying
Instructions
- Prepare the Dough: In a large bowl, mix the all-purpose flour, carom seeds, and salt. Add the 4 tablespoons of oil and mix it thoroughly with your hands until the flour resembles breadcrumbs.
- Knead and Rest: Gradually add a little water and knead into a firm, tight dough. Once kneaded, apply a little oil on the dough and let it rest for 10 minutes.
- Roll the First Layer: Take a small ball of dough and roll it out into a very thin, circular sheet, similar to a chapati.
- Create Layers: Apply a layer of oil or melted ghee evenly over the rolled dough sheet. Sprinkle a light dusting of flour over the oil. Fold the sheet into a square, then roll it out again into a thin sheet. Repeat this process two more times to create multiple flaky layers.
- Cut the Shankarpalya: Once you have rolled the final sheet, cut it into thin, diamond-shaped pieces. Ensure the pieces are not too thick.
- Fry to Perfection: Heat the oil in a pan on a medium flame. Once the oil is hot, gently add the shankarpalya pieces. Do not overcrowd the pan. Fry on a medium flame, stirring occasionally, until they turn a beautiful light golden brown colour.
- Cool and Store: Once fried, take them out and place them on a paper towel to absorb any excess oil. Once they have cooled completely, store them in an airtight container.